How to make a Decorative Notebook
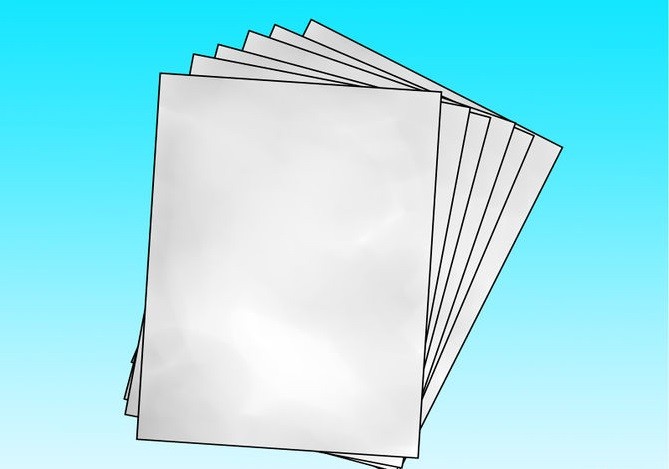
1.Stack a five or six sheets of paper on top of each other
These should be sheets without any hole punches in them. An easy size to work with is paper that is 8x10 inches. Once the edges of all of the sheets are lined up, fold the sheets in half horizontally (this means folding the tops of the sheet over so that they are lined up perfectly with the bottom edge of the sheets). Turn your pages so that they lay like a book in front of you.
*You can use more than six sheets of paper if you want--just remember that this will make double the number of pages because the paper is folded in half. For example, if you use eight sheets of paper, you will actually get 16 pages.

2.Make three holes in the folded over stack of papers
You can either use a handheld one-hole punch or a bradawl. Open the paper stack up so that the edges are all lined up and the stack opens up like a book. You will be placing your holes along the crease in the center of the pages. Measure three centimeters in from the top and bottom of the center crease.
*You can also make this method easier by simply stapling the inside pages together. Line a stapler up so that the staple runs parallel along the center fold. Space your three staples out so that they spaced equally along the center of the pages.
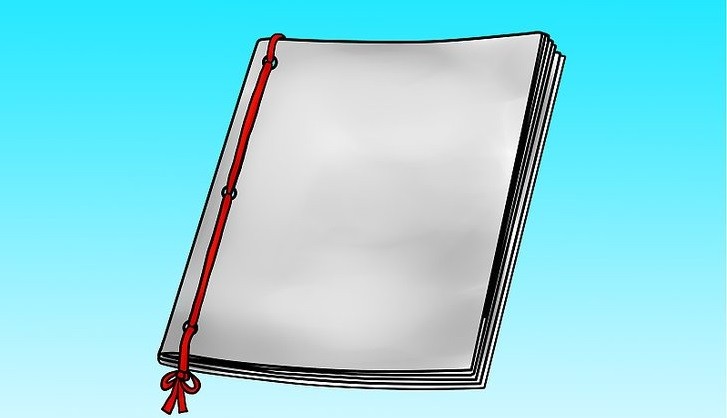
3.Run string through the holes you have made
Run string through the holes you have made. You can run your string through the bottom hole from the front and down through the top hole so that both ends of the string are on the inside of the pages. Take the ends and run both of them through the center hole. Tie them above the center hole on the outside of the pages either using a knot or a bow.
* Alternatively, if you made two holes, run the string through the bottom hole, starting at the back of the pages, pull the string through and then run it up through the top hole so that the ends of the strings are hanging out onto the outside of the pages. Tie the string together so that it makes a bow or knot over the middle of the center crease on the outside of the pages.
4.Find the middle of paper you will use for the cover
Find the middle of paper you will use for the cover. Your heavier piece of paper you are going to use for your cover should be slightly larger than your inside pages. For example, if you used 8x10 inch paper for your pages, use 8x12 paper for your cover. Lay the piece of paper out so that it is horizontal and use a ruler to find the center of the paper. Make a light line with a pencil so that you know exactly where to fold the paper.
*The paper you use for your cover should be pretty thick. You may want to consider paper that is thicker than construction paper.

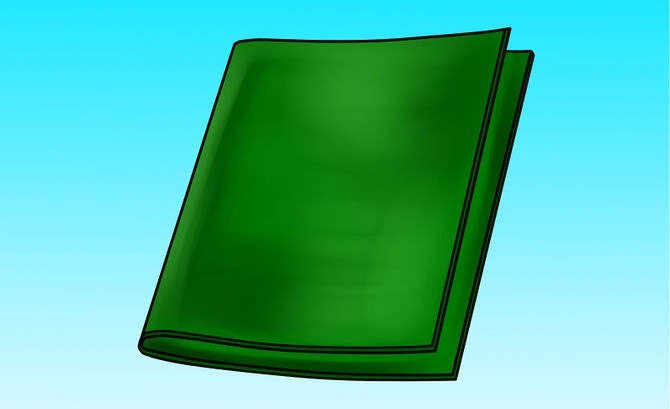
5.Decorate your cover
Decorate your cover. A beautiful and very simple way to decorate this kind of notebook is by using a small 8x8 inch piece of paper with a cute design on it. You can find this kind or paper at your local art supply store. Measure the paper and mark the center. Fold it in half and then fit it onto the spine of your cover. Glue it down so that the edges match up with your cover. The decorated paper should cover about three-fourths of each side of the cover, leaving room for any other decorations you might want.

6.Open the folded cover up
Lay the pages down so that their spine is fitted into the inside center of the cover. Put glue onto the front and back sheet, line them up with the inner cover, and then press them down. Your cover and pages should now be attached.