Coil Binding Equipment Techniques For Thick Documents
- Share
- Issue Time
- Feb 7,2018
Coil Binding Equipment Techniques For Thick Documents
Binding thick documents can sometimes be challenging even for people with lots of binding experience. However, some helpful information combined with the correct binding materials and good coil binding equipment can make binding 500 pages as easy as binding 50 pages, with fantastic results every time.
Before You Start
The first part of the process deals with gathering the proper binding materials that will work best with the thickness of your documents. Coils, for example, can run from 6 to 50 millimeters and can bind documents of up to 440 pages. For 100, 20 lbs copy paper, sheets, which are about one-half inch thick, you’ll need a 17 or 18 millimeter coil that’s also about one-half inch thick.
If your document will have covers, you must decide whether to punch them separately, or place them already collated into the document to be punched at the same time – if the covers are the same size as the printed materials. However, because most covers are dense and require more pressure to create a hole, you must reduce the number of pages punched when adding the cover.
For example, you might punch the front cover with one-half of the pages and the back cover with the other half, depending on the actual thickness of the document. This means it will take additional time to complete the binding process, so plan accordingly.
Covers that are larger or smaller than your materials will need to be punched separately, and you must carefully readjust your paper stops so that the correct punch pattern is centered on your cover, also requiring additional time.
Check Your Hole Pattern
Using the right hole-punch pattern, also known as the pitch, is very important when binding thick documents. Pitch is the number of holes punched per inch along the document spine, and it can vary widely. In the binding world, a pitch of five holes per inch would be represented as a 5:1 pitch; four holes per inch would be 4:1 and so on. It’s important to do a test punch to see that all the holes are evenly spaced.
Remember to choose a coil or other binding element that is large enough to let the bound pages turn, without catching or ripping, and that the holes must also be the right size for the binding. Also, don’t exceed the recommended capacity of your punching and binding machines.
It can sometimes be helpful to use larger holes than necessary when binding a thick document with coil binding equipment. This is because a thick document requires a thick coil binding element that is often difficult to insert cleanly and easily into standard-sized holes. Changing from a round to an oval hole-shape also makes the insertion process easier. In this case, it’s very important to set up the right number of holes per inch.
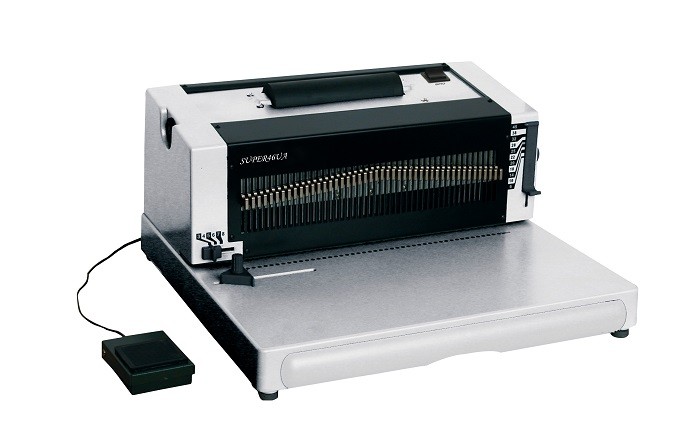
Manual Vs. Electric Insertion
Generally, it’s faster to add coil bindings to documents with an electric coil binding inserter. Insert the coil manually into the first couple holes of the document. Take the book to the electric coil inserter and gently touch the coil against the rollers, and they will automatically spin the coil through the remaining holes of the document.
With large documents, however, it’s often easier to insert the coil by hand. There’s so much paper to go through that the speed of the electric process causes misalignments and tearing during the insertion process. Although slower, the manual method results in cleanly-bound documents almost every time.
To start the coil insertion, curve the binding edge before you begin. A book former or a binding sleeve can also help. Remember to crimp each end with crimping pliers to remove sharp edges.
Binding thick documents with coil takes a little more time and planning, but you get a great looking finished product that holds up, whether you’ve bound it manually or with electronic coil binding equipment.